
Planting Your First Seedling: Complete Step-by-Step Guide for Container Gardens
DAY 9
Your Journey Begins
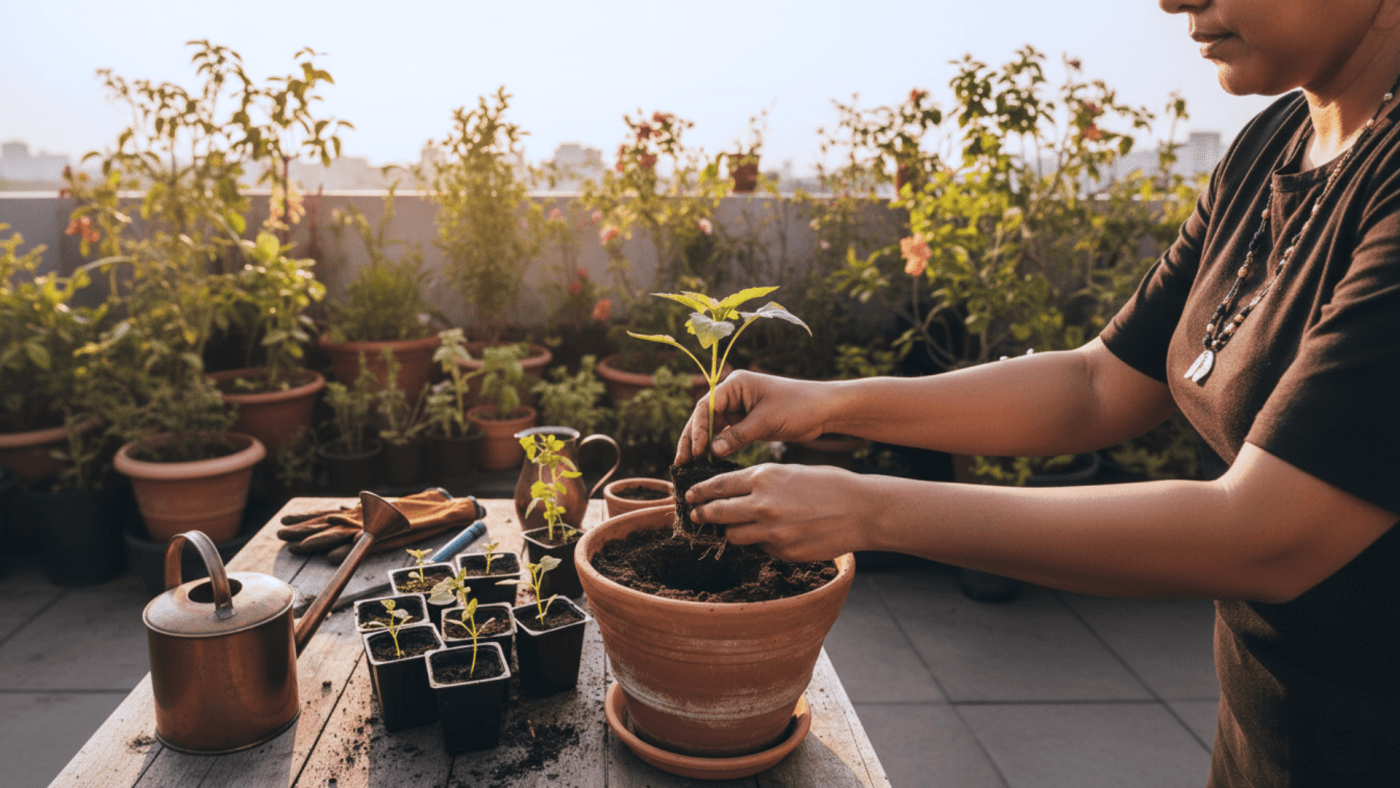
Congratulations, today is the day you’ve been waiting for—planting day! This guide is the final, practical step that transforms you from a student of gardening into an active gardener. Let’s get your hands dirty and bring your container garden to life.
The Three Golden Rules for Success
Before You Plant: The Three Golden Rules for Success
Success in container gardening begins before the first seedling ever touches the soil. Understanding three core concepts—depth, spacing, and companionship—is the key to creating a thriving and productive garden.

Golden Rule #1: Find the Perfect Depth
Planting depth is a critical factor that can determine a plant’s success or failure. Planting too deep can cause the stem to rot and suffocate the roots, while planting too shallow can lead to instability and exposed, dried-out roots.
Here’s how to get it right:
- For Seedlings: The primary rule is to plant them at the exact same depth they were growing in their original container. Simply match the existing soil line on the stem with the new soil line in your pot.
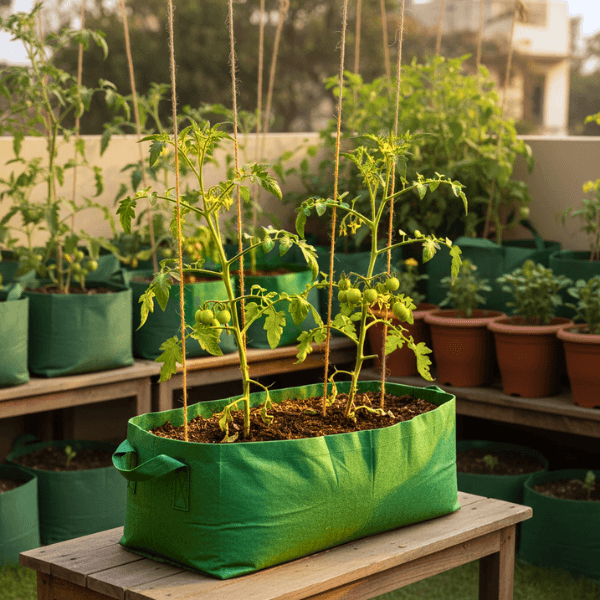
- The Tomato Exception: Tomatoes are the main exception to this rule. They can form new roots along their buried stems, so planting them deeper helps develop a stronger, more extensive root system and a more stable plant.
- For Seeds: The general rule is to plant seeds at a depth of two to three times their diameter. Your finger is the perfect tool for this: tiny seeds like lettuce or carrots need only a light dusting of soil, medium seeds like beans go about half an inch deep, and large seeds like squash can go one to two inches deep.
Golden Rule #2: Give Your Plants Space to Thrive
Proper spacing in containers is essential for preventing disease, ensuring every plant gets enough sunlight, and avoiding competition for water and nutrients. Remember this crucial principle: “fewer plants with proper spacing always produce bigger, healthier harvests than overcrowded containers”.
Here are some clear spacing examples to guide you:
Container Size Example Plant Spacing
Small (12×12 inch) 4 radish plants, 2 lettuce plants, OR 6-8 spinach plants
Medium (18×12 inch) 1 tomato plant, 1 pepper plant, OR 3-4 herb plants
Large (2x1x1 feet) 1 tomato with 1 basil plant OR 2 bottle gourd plants
Golden Rule #3: Choose Good Companions
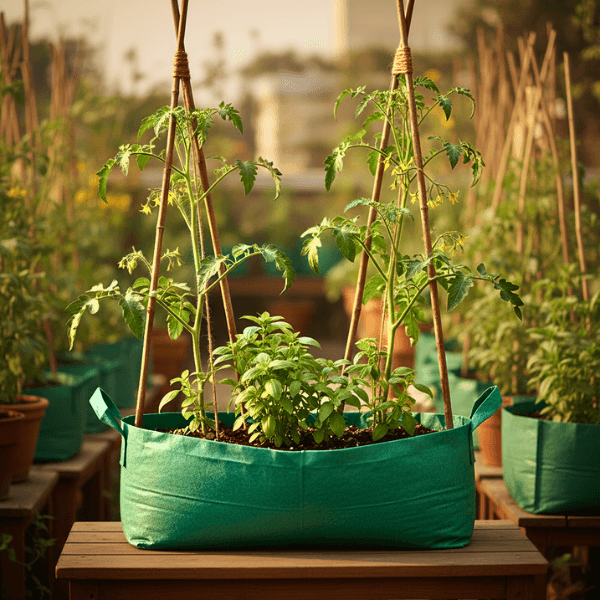
Companion planting is the practice of growing mutually beneficial plants together to create a healthier, more resilient garden. For example, growing basil with tomatoes not only repels common tomato pests but also ensures the plants don’t compete for resources, as tomatoes are deep-rooted while basil is more shallow.
Great Companions:
Tomatoes & Basil: Basil repels pests that attack tomatoes.
Carrots & Onions: Onions repel the destructive carrot fly.
Lettuce & Radish: Fast-maturing radishes are harvested before lettuce needs the extra space to grow.
Pairs to Avoid:
Tomatoes & Potatoes: They are susceptible to the same pests and diseases.
Onions & Beans: Onions can inhibit the growth of beans.
With these three golden rules in mind, you are ready to move from planning to planting.
The Planting Process: A 6-Step Guide
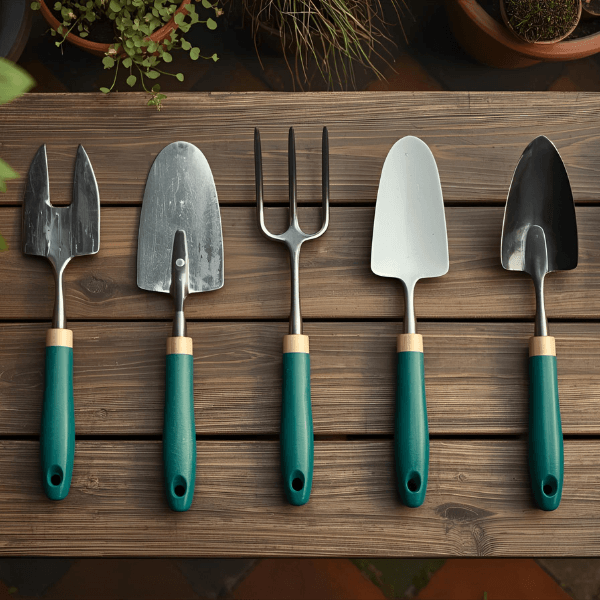
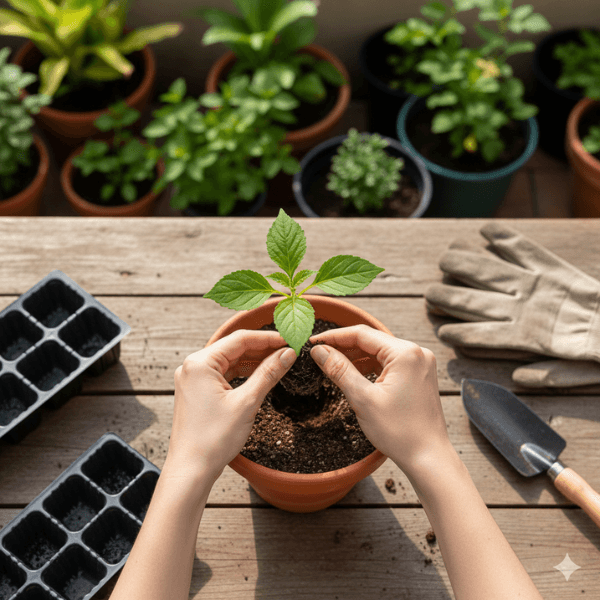
Gardening Tools
Essential tools for seedling transplant
Good Soil Mix
Use good soil mix for fast growth of seedlings
Remove Seedling
Carefully remove cocopeat plug jacket
Create Seedling Hole
Make a slightly bigger hole than seedling root ball
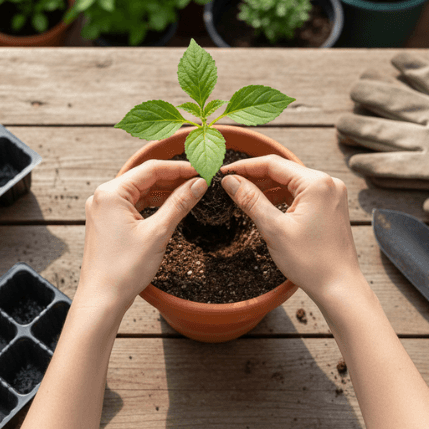
Transplanting Seedling
Place seedling in the hole and backfill with soil
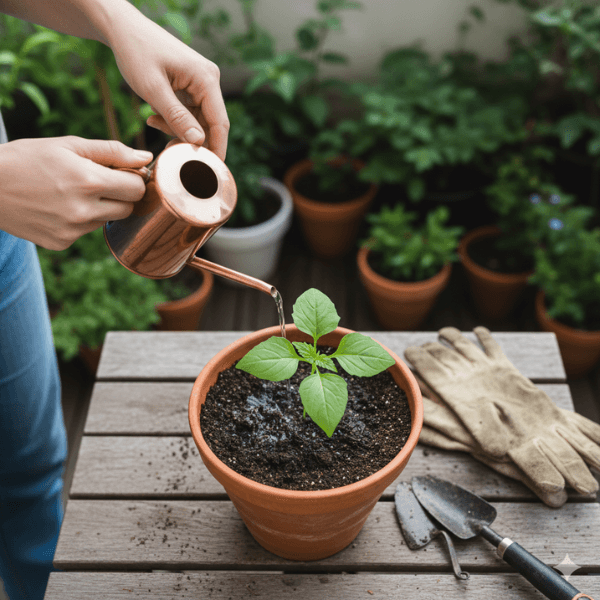
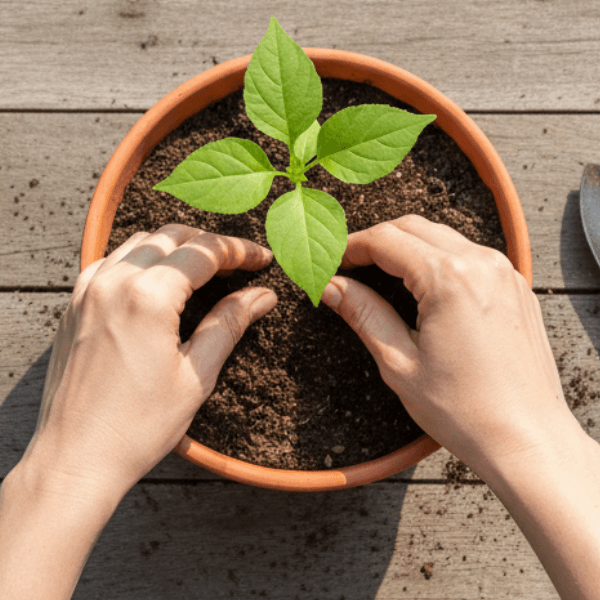
Watering
Immediately water the pot after seedling transplant
Six-step visual guide showing complete seedling planting process from soil preparation to final watering
This is the main event—the hands-on process of getting your seedling settled into its new home. Follow these steps carefully for a smooth and successful planting day.
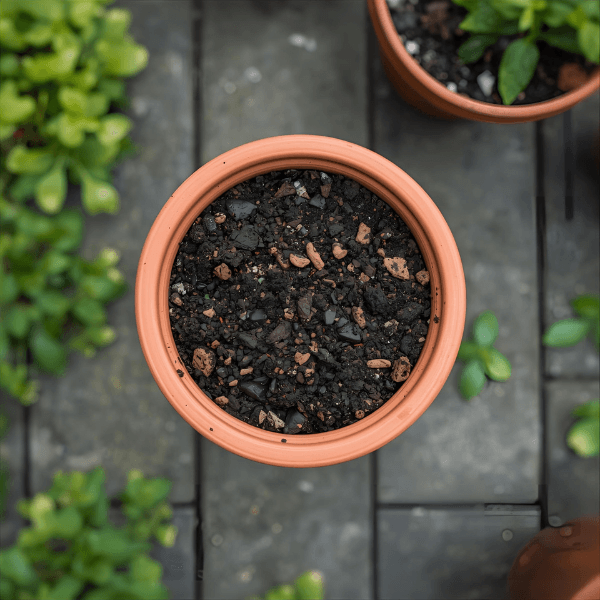
- Prepare the Container Fill your container with moist potting mix, leaving 1-2 inches of space at the top. Leaving a little space at the top ensures that water doesn’t overflow and soil stays in place while wate
- Dig the Hole Dig a hole that is slightly larger than the seedling’s root ball. The key is to make it deep enough so the plant will sit at the exact same depth it was in its original container.
- Gently Remove the Seedling To make removal easier and keep the roots intact, water the seedling about an hour beforehand. Gently squeeze the sides of its original pot to loosen the soil, then carefully tip it out. Never pull the seedling out by its delicate stem.
- Position the Plant Place the plant in the center of the hole. Double-check that the top of its root ball is level with the surrounding soil surface and that the stem is standing straight, not tilted.
- Backfill with Soil Carefully fill the space around the root ball with more potting mix. Press the soil down gently with your hands to eliminate any large air pockets, but avoid compacting it too firmly, which can hinder root growth and water drainage.
- Water Thoroughly Immediately after planting, water the container thoroughly. This crucial final step helps settle the soil, removes any remaining air pockets, and ensures good root-to-soil contact, which is essential for the plant to begin absorbing water.
Now that your seedling is planted, your focus shifts to providing the best care during its first critical week.
After Planting: Navigating the First Critical Week
The first week after planting is a critical adjustment period. Your job is to help the plant recover from the stress of being moved and establish itself in its new environment.
How to Prevent “Transplant Shock”
Transplant shock is the stress a plant experiences when it is moved. Symptoms often include wilting, yellowing leaves, or even leaf drop. Fortunately, it is highly preventable.
Timing: Plant during cool parts of the day, such as the early morning or evening, or on an overcast day. Avoid planting in the hot afternoon sun.
Watering: Water seedlings before you transplant them and give them a thorough watering immediately after they are planted in their new container.
Protection: For the first 2-3 days, provide temporary shade from harsh sun and protection from strong winds, which can dry out the plant quickly.
Gentle Handling: Minimize root disturbance by keeping the root ball intact. Always handle the plant by its leaves or root ball, never by its fragile stem.
No Fertilizer: Wait at least one week before fertilizing. This allows the plant to focus all its energy on establishing new roots rather than trying to produce new leaf growth.
Signs of Success vs. Signs of Trouble
Pay close attention to your plant in the first week. This table will help you quickly assess its health.
Signs of Success
Leaves are perky and upright.
The plant maintains its healthy green color
New growth appears at the tips of the stems.
The plant doesn’t wilt by evening on a warm day.
Signs of Trouble
Persistent wilting, even with adequate water.
Leaves begin turning yellow (a sign of stress or overwatering).
Leaf edges turn brown (a sign of underwatering).
A Pro-Tip: Label Everything!
Labeling your plants may seem like a small detail, but it’s a habit that pays dividends. It helps you keep track of different varieties, remember what you planted where, and monitor performance for future seasons.
Your plant label should include:
* Plant name and variety
* Planting date
* Expected harvest date
You can buy permanent plant stakes, but a true gardener’s secret is the DIY label. Use popsicle sticks, pieces of a cut-up plastic bottle, or even old spoons. For a more permanent record, I strongly recommend keeping a garden journal with photos and notes—labels can fade, but a journal will track your progress for seasons to come.
By successfully navigating this first week, you have set your plant on a path to a healthy and productive life.
Conclusion: You’re Officially a Gardener!
Congratulations on your first successful planting day! You have taken all the knowledge you’ve gathered and turned it into tangible action, a significant accomplishment for any aspiring gardener. Take pride in your work and look forward to the fresh, healthy food these plants will provide.
Next, we will dive deep into “watering wisdom” to learn how to keep your plants perfectly hydrated throughout their growing cycle.

Essential Gardening Tips for Beginners: Complete Guide 2025
Complete step-by-step guide to urban container gardening, soil preparation, and growing fresh organic vegetables and fruits at home for beginner
How to Make Organic Liquid Fertilizer from Mustard Cake — 5x More Potent
Nov
Secret of Growing Bigger Strawberries -Video (Hindi)
Feb
Yellowing of Leaves in Plants: The #1 Hidden Reason (Not Pests, Not Nutrients!)
Aug
When Do Seedlings Need Fertilizer? Beginner’s Guide
Sep
Is Mosaic Virus or Leaf Curl Virus in Plants Treatable?
Aug
5 Amazing Tips For Growing Strawberries at home -Video (Hindi)
Feb
बिगिनर गाइड: अमरूद गमले में कैसे उगाये?
Jul
Planting seedlings in containers
Sep
Tips for growing vegetables from seeds at home
Nov
Gardening Success Shared By Our Fellow Gardeners
Feb
High Yeild Quality Capsicum Seeds for Home Garden
Aug
How to Grow Blueberries in Pots in India – Best Varieties, Chill Hours & Care Tips
Sep
मिर्ची / चिली उगाए कैसे – ये 2 गलती कभी न करे
Jul
Big Pots vs Good Soil: Which Wins?
Aug
Complete Home Vegetable Gardening Course – Soil – The Foundation of Growth
Sep
Pusa Plant Nursery – New Delhi
Jul